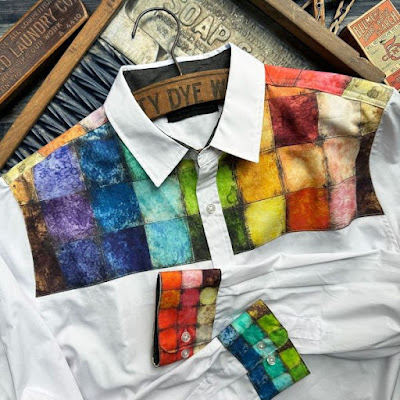
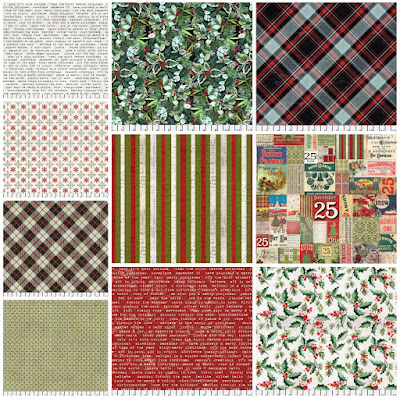
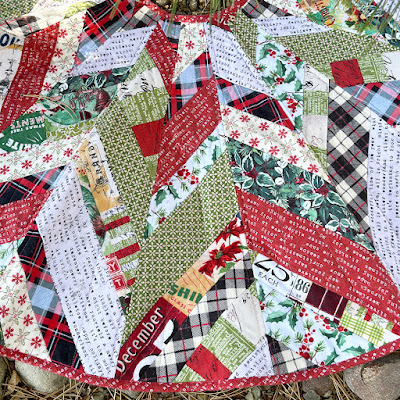
Hello! The COLORBLOCK fabric designed by Tim Holtz for FreeSpirit Fabrics ins't just for blocks of color you can also make triangles. And before you say no way it's not as bad as it seems. Paula Cheney had this great idea! What if you makes strips and sew them together to make the triangles. She's brilliant!

I used the COLORBLOCK Canvas Cloth. The canvas is very soft and easy to sew.

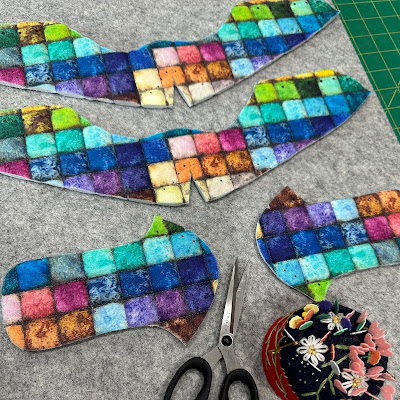
I cut the strips measuring 1/4" beyond the points of the design for the seem allowance. There I a bit of waste but you can use them for something else later. As you start to piece things together be sure to pin at the points so they match up. Your seam allowance will be 1/4" and please press the seems open.

You can see the browns and pinks strip has the 1/4" cut past the points. Keep in mind that the strip is not going to be an exact measurement throughout the strip. This will all works out, trust me.

Continue sewing the strips together until you have approximately 16 1/2"wide give or take.
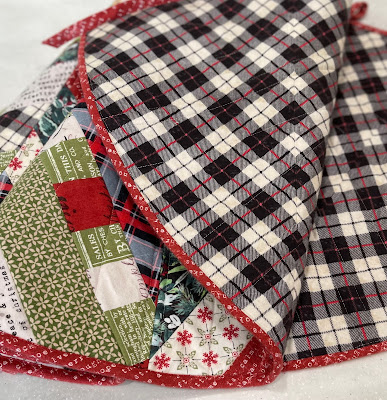
Cut a square approximately 16 1/2" and press lightweight woven interfacing the back,
I used Pellon SF101. Layer pillow top with batting and backing like your making a quilt. The backing will not show so something like muslin will work great.


Enjoy your pillow!. Happy sewing!
Thanks so much for stopping by!
Richele